
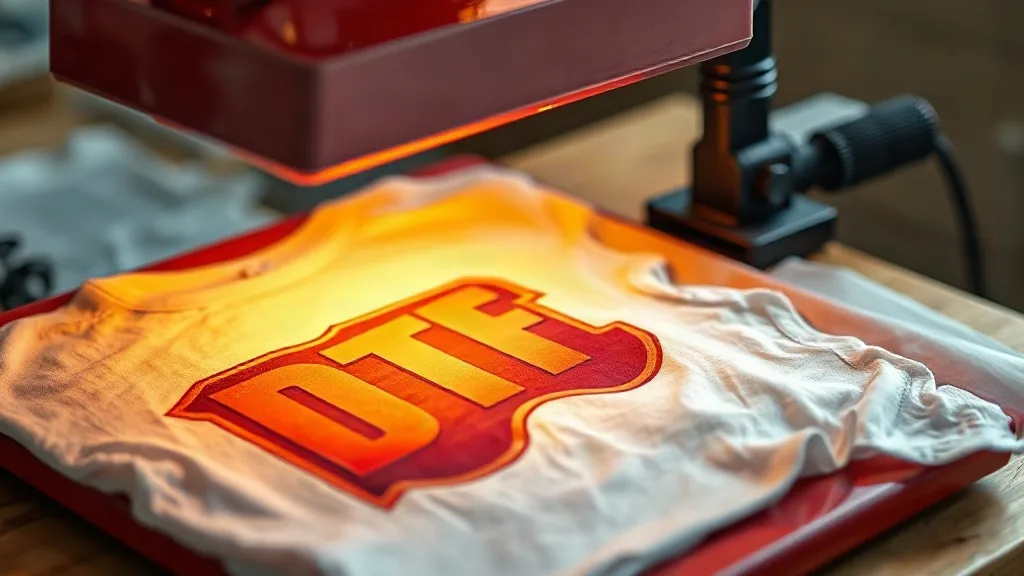
When you first dive into the world of dtf printing, the sheer number of variables can feel overwhelming. Temperature, pressure, time, fabric type, peel method — get one wrong, and you're left with a cracked, faded, or peeling design. But here's the good news: once you understand the core principles, dtf transfers become one of the most forgiving and versatile decoration methods available. Unlike vinyl or screen printing, DTF doesn't require weeding, doesn't need special pretreatment for most fabrics, and works on everything from cotton to polyester blends. In this guide, I'll walk you through the exact heat press settings and application steps I've refined over hundreds of prints, so you can achieve professional, wash-resistant results every time.
Why Heat Press Settings Matter for DTF Transfers
DTF transfers are essentially a printed thermoplastic film that bonds to fabric under heat and pressure. The adhesive powder on the back of the transfer melts and fuses with the fibers, creating a mechanical bond. If the temperature is too low, the adhesive won't fully activate, leading to poor wash durability. Too high, and you risk scorching the fabric or causing the transfer to gel and lose detail. Pressure ensures even contact between the transfer and the fabric, while time allows the adhesive to flow and penetrate. Each factor interacts with the others, so adjusting one often means tweaking another. For example, if you lower the temperature, you'll need to increase the time to achieve the same bond strength. That's why a systematic approach is key.
Optimal Heat Press Settings for DTF Transfers
Based on my testing across various presses and transfer brands, here are the baseline settings that work for the majority of fabrics. Keep in mind that these are starting points; always perform a test press on a scrap piece of fabric before committing to a full production run.
Temperature
Set your heat press to 325°F (160°C) for standard cotton and cotton-poly blends. For 100% polyester, especially performance wear, lower to 300°F (150°C) to prevent dye migration and fabric scorching. If you're using a transfer with a high adhesive powder content, you might need to go up to 340°F (170°C) for a secure bond. I recommend investing in an infrared thermometer to verify your press's actual platen temperature, as dials can be off by 10-15 degrees.
Pressure
Medium to firm pressure is ideal. You want the press to compress the fabric slightly but not so much that the transfer shifts or the adhesive squeezes out the sides. On a pneumatic press, aim for 40-60 PSI. For a manual press, adjust the pressure knob until you feel firm resistance when pulling the handle down. A good rule of thumb: the transfer should not move when you try to slide it after pressing for a second.
Time
Press for 10-15 seconds for standard transfers. Thicker transfers or those with heavy powder may require 20 seconds. If you're using a lower temperature, extend the time to 20-25 seconds. Always follow the transfer manufacturer's recommendations as a starting point, then adjust based on your press and fabric.
Step-by-Step Application Process
Now that you have your settings dialed in, let's walk through the application process. This is where attention to detail separates a hobbyist from a pro.
Preparing the Fabric
Pre-press the garment for 5-10 seconds to remove moisture and wrinkles. Moisture can create steam during pressing, which interferes with adhesion. If you're working with a dark or colored fabric, consider using a lint roller to remove any fibers that could get trapped under the transfer.
Positioning the Transfer
Place the transfer with the printed side up. Unlike some other transfer types, DTF transfers are applied face-up; the adhesive side is against the fabric. Use heat-resistant tape if you need to hold it in place, but avoid taping over the printed area.
Pressing
Cover the transfer with a Teflon sheet or parchment paper to protect your press's upper platen. Apply the settings from above. For the first press, use firm pressure for 10-15 seconds. If you're using a clamshell press, ensure the transfer doesn't shift when you close the press.
Peeling
DTF transfers are typically peeled cold or warm. I prefer to wait 10-15 seconds after pressing, then peel the film off in one smooth motion. If the transfer sticks to the film, it means the adhesive didn't fully activate; press again for a few seconds and try peeling again. Once peeled, cover with parchment and press for an additional 5-10 seconds to fully set the adhesive.
Common DTF Problems and How to Fix Them
Even with the right settings, issues can arise. Here are the most common ones and their solutions.
- Transfer peels off after washing: Increase pressure or time. Ensure the fabric is clean and dry before pressing. Also, check that your adhesive powder is fully melted; a second press after peeling can help.
- Cracking or fading: This usually indicates too much heat or pressure, causing the ink to become brittle. Lower the temperature by 10-20°F and reduce pressure slightly.
- Dye migration on polyester: Use a lower temperature (300°F) and a poly-specific transfer. Pre-pressing the fabric can also help.
- Transfer looks dull: Too little pressure or time. The transfer should look vibrant and slightly glossy after pressing.
Choosing the Right DTF Transfers for Your Project
Not all dtf transfers are created equal. When sourcing transfers, consider the ink quality, adhesive powder type, and film thickness. High-quality transfers use vibrant, eco-friendly inks and a fine powder that melts evenly. Thicker films can feel rubbery, so opt for thinner films for a softer hand. If you're printing your own transfers, invest in a good printer, quality ink, and a reliable powder shaker. For those who prefer ready-to-press transfers, many suppliers offer custom and gang sheets that save time and reduce waste.
Expanding Your DTF Capabilities
Once you've mastered the basics, you can explore advanced techniques like layering transfers for multi-color designs, using DTF on unusual materials like canvas or leather, or combining DTF with other decoration methods. The versatility of DTF makes it a fantastic addition to any print shop's offerings. Remember, practice makes perfect. Keep a log of your settings for each fabric type and transfer brand, and soon you'll be able to dial in the perfect press every time.
Frequently Asked Questions
What temperature should I use for DTF transfers on polyester?
For 100% polyester, use a lower temperature of around 300°F (150°C) to prevent dye migration and scorching. Press for 10-15 seconds with medium pressure. Always test on a scrap first.
Can I use a home iron for DTF transfers?
While it's possible, a home iron doesn't provide consistent pressure or temperature, leading to unreliable results. A heat press is strongly recommended for professional-quality, wash-durable transfers.
How do I prevent DTF transfers from cracking after washing?
Ensure you're using the correct temperature and pressure, and always post-press after peeling. Wash the garment inside out in cold water and avoid harsh detergents or bleach. Air drying is best.
Do DTF transfers work on dark fabrics?
Yes, DTF transfers are excellent on dark fabrics because they include a white ink layer that makes colors pop. No need for a separate white underbase.
What is the shelf life of DTF transfers?
When stored in a cool, dry place away from direct sunlight, DTF transfers can last up to 6-12 months. Avoid high humidity, which can cause the adhesive powder to clump.