
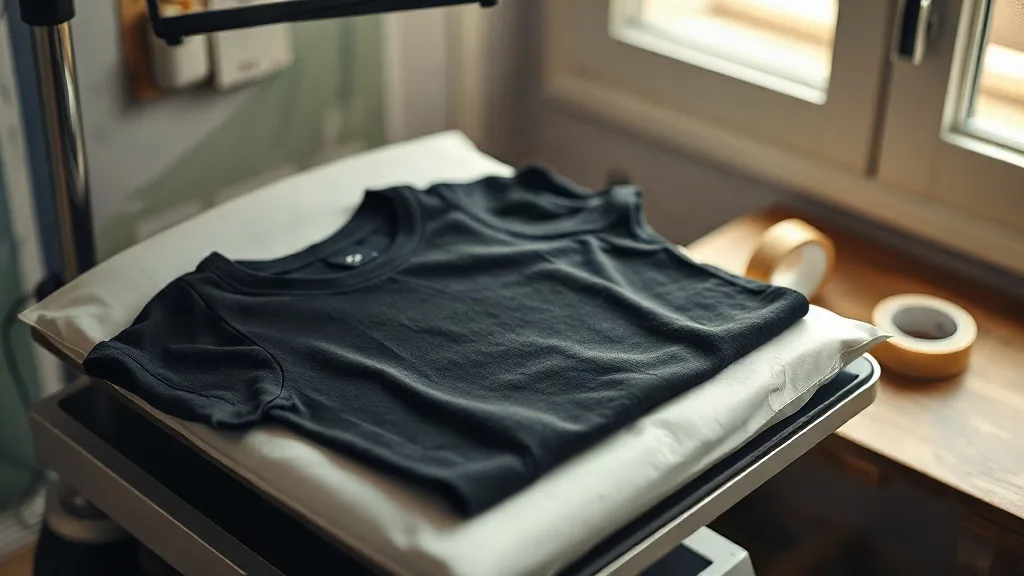
You have probably mastered the classic front-chest dtf transfers. The film lays flat, the press closes evenly, and the peel is predictable. Then a customer asks for a logo on the sleeve, a small wordmark on the pocket, or a hem tag on the bottom edge. Suddenly the same settings that worked all week produce shifted prints, scorched fabric, and film that refuses to release cleanly. Small-area dtf work is not just a scaled-down version of a front print. The geometry, the heat distribution, and the way you handle the garment all change. This guide walks through the specific techniques that make sleeves, hems, and pockets reliable instead of frustrating.
Why small areas behave differently under the press
A standard heat press platen is designed for a flat, full-torso surface. When you place a sleeve or a hem on that platen, you are introducing curves, seams, and uneven thickness. The upper platen contacts the highest point first. On a sleeve, that is usually the seam or the folded edge, not the print area. The result is uneven pressure: the print may sit in a slightly lower zone and receive less force than the surrounding fabric. That is where incomplete adhesion starts.
Heat behaves the same way. The metal platen transfers energy most efficiently where contact is firmest. A loose sleeve creates air gaps that insulate the film from the platen, so the adhesive powder does not reach its activation window. You end up with a print that looks fine on the surface but lifts at the edges after the first wash.
There is also the handling problem. Small pieces of film are harder to position accurately, and they are more likely to shift when the press closes. A 2-inch logo has far less margin for error than a 12-inch front print. Every millimeter of movement is visible.
Preparing the garment so the print area is truly flat
The single most effective fix for small-area work is to build a flat, firm surface before the film ever touches the fabric. You are not trying to press the whole garment. You are trying to isolate the print zone and make it behave like a miniature platen.
Use a pressing pillow or a sleeve board
A pressing pillow is a heat-resistant cushion that raises the print area while letting the rest of the garment fall away. For sleeves, slide the pillow inside the sleeve so the seam sits off to the side and the print zone becomes a smooth curve. For hems, fold the garment so the hem sits on top of the pillow and the body of the shirt hangs below the platen. This gives you a consistent contact surface instead of a seam ridge.
Sleeve boards work on the same principle. They are rigid, heat-resistant forms that support the sleeve from the inside. If you do a lot of sleeve printing, a dedicated sleeve board pays for itself in reduced reprints.
Pre-press the area to remove moisture and wrinkles
Fabric straight from a poly bag holds moisture. That moisture turns to steam under the press and pushes the film upward, which is a common cause of poor adhesion on small prints. Pre-press the print zone for three to five seconds at your normal application temperature. This flattens the fibers and drives off surface moisture. Let the garment cool for a moment before placing the film.
Mind the seams
Never press directly over a seam if you can avoid it. Seams are thicker than the surrounding fabric, so they absorb pressure and create a low spot on either side. If the design must cross a seam, build up the area with a small piece of heat-resistant foam or a folded pressing cloth so the seam sits level with the print zone. On pockets, the top edge of the pocket is a seam. Position the design so it sits fully on the pocket face, or use a pillow to raise the pocket body above the seam line.
Positioning small film without losing your mind
Small pieces of dtf film are light, staticky, and easy to knock out of place. A few habits make placement repeatable.
- Use a heat-resistant tape to tack the film down at two corners. Tape only the film edge, not the printed area, and remove it before pressing if your tape is not rated for direct platen contact.
- Mark placement with a light chalk line or a small piece of removable tape on the garment. On dark fabrics, a water-soluble fabric marker works well and disappears in the wash.
- Trim the film close to the design but leave at least a quarter inch of clear film border. A tight trim reduces the chance of adhesive squeeze-out, but a border that is too narrow makes the film curl.
- Work on a surface that is not vibrating. A press that shakes when the upper platen moves will shift light film every time.
If you are producing the same sleeve logo repeatedly, make a placement template from cardstock or a thin sheet of MDF. Cut a window the size of the print area and use it to align the film consistently. Templates are especially useful when multiple people operate the same press.
Press settings for sleeves, hems, and pockets
There is no universal setting, but the principles are consistent. Small-area prints need slightly lower pressure than full-front prints because the contact area is smaller and the risk of seam indentation is higher. Start with the pressure you use for a front print, then reduce it until the platen closes with firm but not crushing contact. You should see a clean imprint in the fabric without a hard seam line.
Temperature stays in the normal DTF range for the fabric you are using, typically around 300 to 320 degrees Fahrenheit for cotton and cotton blends, and slightly lower for heat-sensitive synthetics. Time is where small prints often go wrong. Operators sometimes extend dwell time to compensate for uneven pressure, which overheats the film and makes the peel gummy. Keep the dwell time in the recommended range for your film and fix the pressure problem instead.
For a two-press workflow, a short pre-press of three to five seconds flattens the area and removes moisture. The main press then runs at full time. If you are pressing a hem where the garment body is thick, use a pillow so the platen contacts only the hem area. Pressing through a folded edge without support is one of the most common causes of partial adhesion on hems.
Peeling small prints without distorting them
Peel behavior depends on the film and the adhesive, so follow the manufacturer's recommendation for hot peel or cold peel. What changes on small prints is the handling. A small design has less structural integrity than a large one, and a fast peel can stretch or distort fine details.
Peel in one smooth motion at a shallow angle, close to the fabric. Do not pull upward. If the film resists, let it cool for a few seconds and try again. Resistance usually means the adhesive did not fully activate, which points back to pressure or temperature rather than peel technique. On sleeves, support the fabric underneath with your free hand so the garment does not stretch as you peel.
After peeling, a second short press through a cover sheet or parchment helps the print settle into the fabric texture. This is especially useful on pockets and hems where the fabric may have a tighter weave. Keep the second press brief, around five seconds, to avoid over-pressing the edges.
When to source small-format prints locally
Not every shop runs its own printer, and small jobs are often where outsourcing makes sense. If you need a handful of sleeve logos or pocket prints and your printer is tied up with a large order, searching for dtf transfers near me can connect you with a local provider who can turn around small gang sheets quickly. The advantage is less shipping time and the ability to inspect the film before pressing. The tradeoff is that you lose control over the ink laydown and powder application, so test the first print before committing to a full run.
When you do source externally, ask for the film's recommended press settings. Small prints from a different provider may need slightly different pressure than your in-house film. Keeping a log of settings by film source prevents the guesswork that leads to inconsistent results.
Building a repeatable small-area workflow
The shops that handle sleeves and pockets well do not rely on memory. They build a short checklist that anyone at the press can follow.
- Pre-press the print zone for three to five seconds to flatten and dry the fabric.
- Insert the pillow or sleeve board and confirm the print area is level.
- Align the film using a template or chalk marks.
- Tack the film if it is prone to shifting.
- Press at the recorded temperature, pressure, and time for that fabric and film combination.
- Peel according to the film's specification, supporting the fabric underneath.
- Second-press briefly through a cover sheet.
- Log the result, including any adjustments, so the next run starts from a known good setting.
That log is the difference between a shop that dreads small-area jobs and one that takes them without hesitation. Small prints are not harder than large ones. They are just less forgiving of skipped steps.
Frequently asked questions
Can I use the same pressure for a sleeve print as a front print?
Usually not. Sleeves sit on a curved surface, so the platen contacts the highest point first. Reduce pressure slightly and use a pillow or sleeve board so the print zone is level. The goal is firm, even contact without crushing the seam.
Why does my pocket print peel at the edges after washing?
Edge peeling on pockets is often caused by the pocket seam absorbing pressure, which leaves the print area under-pressed. Raise the pocket body with a pressing pillow so the seam sits below the platen, and confirm that the film border is fully adhered before peeling.
How do I keep a small film from shifting when the press closes?
Tack the film with heat-resistant tape at two corners, or use a placement template. Make sure the press is stable and the garment is not moving on the platen. Light film shifts easily, so a fixed reference point matters more than on large prints.
Is hot peel or cold peel better for small designs?
Follow the film manufacturer's recommendation. Small designs have less structural integrity, so peel slowly and at a shallow angle regardless of temperature. If the film resists, the adhesive likely did not fully activate, which means checking pressure and temperature before changing peel technique.
Can I press a hem without a pillow?
You can, but the folded edge creates a thick ridge that absorbs pressure. Without support, the print area beside the hem often receives less force and adheres poorly. A pillow or a folded pressing cloth under the hem makes the contact surface even and improves adhesion.