
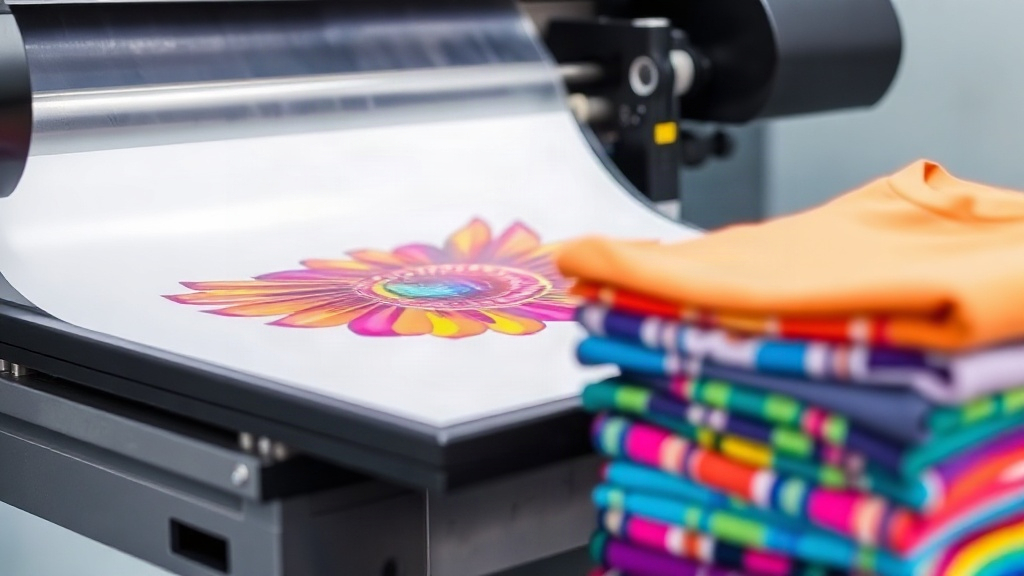
When I first heard about DTF printing, I was skeptical. As someone who's spent years screen printing and working with heat transfers, I thought I'd seen it all. But after testing my first DTF transfer on a cotton t-shirt, I was hooked. The colors popped, the details were crisp, and the feel was surprisingly soft. If you're curious about DTF printing but don't know where to start, this guide is for you. I'll walk you through the entire process, sharing practical tips I've learned from countless trials (and a few errors) along the way.
What Exactly Is DTF Printing?
DTF stands for Direct to Film. It's a printing method where your design is printed onto a special film, coated with a heat-activated powder, and then transferred to fabric using a heat press. Unlike DTG (Direct to Garment), which prints directly onto the shirt, DTF uses a two-step process that allows for vibrant colors on a wide range of fabrics, including cotton, polyester, and blends. The magic happens because the design sits on top of the fabric, bonded by the adhesive powder, rather than being absorbed into the fibers.
One of the biggest advantages of DTF is that it doesn't require pre-treatment, which is a common headache with DTG. You also don't need to worry about color limitations like you do with screen printing. Whether you're printing a single shirt or a hundred, the setup is minimal. That makes DTF ideal for small businesses, hobbyists, and anyone who wants to experiment with custom apparel without a huge investment.
The DTF Printing Process Step by Step
Let's break down the process from start to finish. I'll cover the key materials and equipment you'll need, along with tips to avoid common pitfalls.
1. Design Preparation and Printing
First, you'll need a design. It should be in a high-resolution format, preferably PNG with a transparent background. Vector files work too, but you'll need to rasterize them before printing. Once your design is ready, you'll print it onto a special DTF film using a DTF printer. These printers use pigment inks (usually CMYK plus white) and print the design in reverse. The white ink layer is crucial because it provides opacity, especially on dark fabrics.
When printing, make sure your printer is set to the correct settings for DTF film. I recommend doing a test print to check for any banding or missing nozzles. A clean print head is essential for sharp details.
2. Applying the Adhesive Powder
After printing, while the ink is still wet, you'll sprinkle a thermoplastic powder over the design. This powder will stick to the wet ink and later melt to form a strong bond with the fabric. The powder should be applied evenly; you can use a shaker bottle or an automatic powder applicator. Gently shake off any excess powder, then tap the film to remove any clumps. A common mistake is applying too much powder, which can lead to a rough texture. Less is more here.
3. Curing the Powder
Next, you need to melt the powder. This is done using a heat source, typically a heat press or a conveyor oven. The powder needs to reach a temperature of around 320°F (160°C) to melt and become tacky. If you're using a heat press, place the film in the press for about 10-15 seconds with low pressure. You'll see the powder turn from a matte white to a glossy, clear finish. That's when you know it's cured. Be careful not to over-cure, as it can make the transfer brittle.
4. Transferring to Fabric
Now comes the exciting part: transferring the design to your garment. Set your heat press to 320°F (160°C) and medium pressure. Place the garment on the press, then position the DTF transfer on top with the powder side facing down. Press for 10-15 seconds. For best results, use a Teflon sheet or parchment paper over the transfer to protect it. After pressing, peel the film off while it's still warm (warm peel) or let it cool completely (cold peel). I prefer cold peel because it gives a smoother finish, but warm peel can work well too. It depends on the film and powder you use.
Once peeled, you'll see your vibrant design bonded to the fabric. If any edges lift, you can re-press for a few seconds.
Key Materials and Equipment for DTF Printing
To get started with DTF printing, you'll need the following:
- DTF Printer: A dedicated printer that uses DTF inks. Popular brands include Epson conversions and purpose-built DTF printers.
- DTF Film: Available in sheets or rolls. It has a special coating that holds the ink and powder.
- DTF Inks: CMYK plus white pigment inks formulated for DTF.
- Adhesive Powder: Thermoplastic powder that melts and bonds to fabric.
- Heat Press: A reliable heat press with accurate temperature control.
- Design Software: Adobe Photoshop, Illustrator, or free alternatives like GIMP or Inkscape.
You'll also want a good ventilation system, as the curing process can produce fumes. A dedicated workspace is ideal.
Tips for Perfect DTF Transfers
Over time, I've picked up a few tricks that make a big difference:
- Control humidity: High humidity can cause the powder to clump. Store your film and powder in a dry place.
- Use the right pressure: Too much pressure can cause the ink to spread, while too little leads to poor adhesion.
- Test your settings: Every heat press is different. Always do a test press on a scrap fabric.
- Clean your printer regularly: DTF inks can clog print heads if not used frequently. Run a nozzle check daily.
Another tip: when printing on dark colors, increase the white ink density to ensure opacity. And always mirror your design before printing.
Common Challenges and How to Overcome Them
DTF printing isn't without its quirks. Here are some issues you might face and how to fix them:
Poor Adhesion
If the transfer peels off after washing, it's likely due to insufficient powder or incorrect curing. Make sure the powder is fully melted and the transfer is pressed at the right temperature. Also, check that the fabric is clean and free of fabric softener.
Dull Colors
Dull colors often result from under-curing or low-quality ink. Ensure your curing temperature is accurate and use reputable ink brands. Sometimes, increasing the ink saturation in your design can help.
Sticky Feel
A sticky or rubbery feel usually means too much powder. Reduce the amount of powder you apply and make sure to shake off excess thoroughly.
Frequently Asked Questions About DTF Printing
Can I use DTF on any fabric?
DTF works best on cotton, polyester, and blends. It can also be applied to nylon, leather, and even some treated woods, but adhesion may vary. Always test on a small area first.
How long does a DTF transfer last?
With proper application and care, a DTF transfer can last as long as the garment itself. Wash inside out in cold water and avoid bleach and fabric softener. Tumble dry low or hang dry.
Do I need a special printer for DTF?
Yes, you need a printer that uses DTF pigment inks and can handle the film. Many people convert Epson printers, but there are also dedicated DTF printers available.
Is DTF printing cost-effective for small batches?
Absolutely. Unlike screen printing, there's no setup cost per color, so DTF is great for small runs and one-offs. The cost per transfer is relatively low, especially if you buy materials in bulk.
What's the difference between DTF and DTG?
DTF transfers the design from a film to the fabric, while DTG prints directly onto the garment. DTF works on more fabric types and doesn't require pre-treatment, but DTG can be faster for large orders on cotton.
I hope this guide helps you dive into DTF printing with confidence. It's a versatile and rewarding method that opens up a world of possibilities for custom apparel. Remember, practice makes perfect, so don't be afraid to experiment. If you have questions, feel free to reach out. Happy printing!