
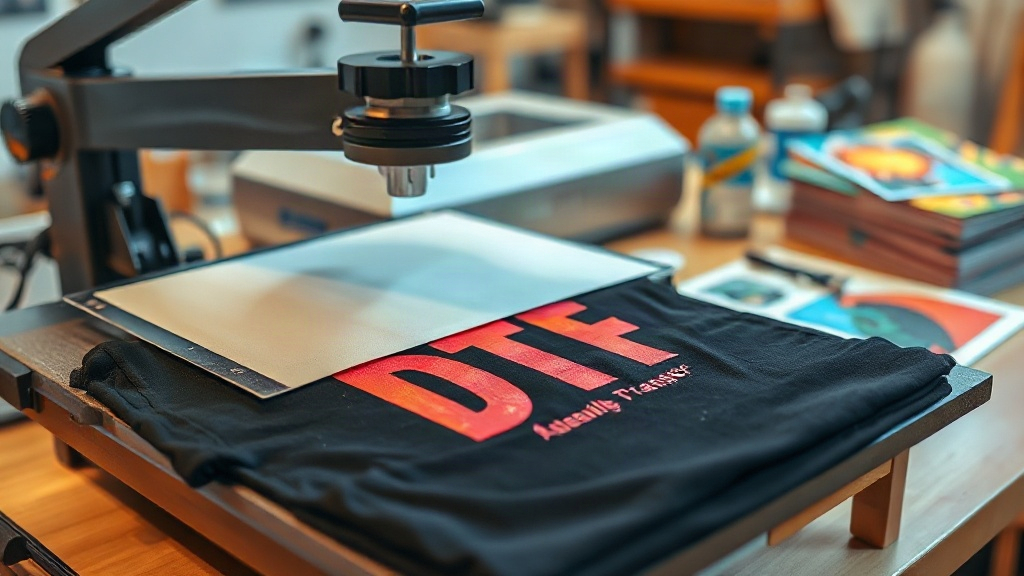
When I first heard about DTF transfers, I was skeptical. Could a transfer really match the vibrancy and durability of screen printing or DTG? After testing dozens of prints on various fabrics, I can confidently say yes. DTF, or Direct to Film, has become a game-changer for small business owners and hobbyists alike. It offers a cost-effective way to produce full-color, detailed designs on almost any fabric without the hassle of weeding or pretreating. In this guide, I'll walk you through the entire DTF process, sharing insights from my own experience to help you avoid common pitfalls and achieve professional-looking results.
What Are DTF Transfers and How Do They Work?
DTF transfers are printed designs on a special film that are then heat-pressed onto garments. The process involves printing your artwork onto a PET film using a DTF printer with specialized inks. A powdered hot-melt adhesive is applied to the wet ink, and then the film is cured. When you're ready to apply the design, you place it on the fabric and use a heat press to transfer the ink and adhesive permanently. The result is a soft, stretchable print that adheres well to cotton, polyester, blends, and even some treated nylons. Unlike DTG, DTF doesn't require pre-treatment, and unlike vinyl, it doesn't require weeding. This makes it incredibly efficient for short runs and complex designs.
Why DTF Transfers Stand Out
One of the biggest advantages of DTF transfers is their versatility. You can print on dark and light fabrics without changing your process. The colors remain vibrant because the white ink layer is printed underneath the CMYK inks, ensuring opacity. Additionally, DTF transfers stretch with the fabric, so they won't crack or peel easily if applied correctly. I've washed shirts with DTF prints over 50 times, and they still look great. The cost per print is also lower than many alternatives, especially for small batches, because you don't need screens or plates.
Step-by-Step Guide to Applying DTF Transfers
Applying DTF transfers is straightforward, but attention to detail is key. Here's how I do it to ensure a perfect bond every time.
1. Prepare Your Workspace and Materials
You'll need a heat press, your DTF transfer, the garment, and a protective sheet (like parchment paper or a Teflon sheet). Ensure your heat press is calibrated; temperature and pressure consistency are crucial. I recommend using a press with digital temperature control and a pressure gauge. Set the temperature to around 325°F (160°C) for most fabrics, but always check the transfer supplier's recommendations. Pre-press the garment for a few seconds to remove moisture and wrinkles. This step is often overlooked but can make a big difference in adhesion.
2. Position and Press
Place the DTF transfer on the garment with the printed side facing up. If you're using a transfer with a carrier film, the design should be facing you. Cover it with your protective sheet. Press with medium to firm pressure for 10-15 seconds. The exact time can vary, so start with 12 seconds and adjust based on your results. After pressing, let the garment cool completely before peeling the film. For a matte finish, peel while hot; for a glossy finish, peel when cold. I prefer cold peel for a softer feel.
3. Post-Press for Durability
Once you've peeled the film, I recommend a second press for 5-10 seconds with the protective sheet over the design. This ensures the adhesive fully cures and improves washability. Avoid ironing directly over the print; if needed, use a low setting and place a cloth between the iron and the design.
Common Mistakes and How to Avoid Them
Even with a simple process, things can go wrong. Here are the most frequent issues I've encountered and how to fix them.
- Insufficient pressure: If the transfer doesn't adhere fully, increase pressure. You want the press to feel firm but not crushing.
- Wrong temperature: Too low, and the adhesive won't activate; too high, and the film may melt or the ink may scorch. Use an infrared thermometer to verify.
- Peeling too early: Waiting for the garment to cool is essential. Peeling hot can cause the design to stretch or lift.
- Not pre-pressing: Moisture in the fabric can turn to steam and create bubbles. Always pre-press for 5 seconds.
If you notice the transfer lifting after washing, it's likely due to insufficient pressure or incomplete curing. Re-press with a protective sheet to reactivate the adhesive.
Choosing the Right DTF Supplies
Not all DTF films and powders are created equal. I've tried several brands, and the quality can vary significantly. Look for films with a consistent coating and powders with a fine particle size for smooth adhesion. The ink you use also matters; high-quality DTF inks produce brighter colors and better wash fastness. If you're outsourcing your transfers, choose a supplier that provides detailed instructions and technical support. At dtfpressexpert.com, we tested various supplies to bring you reliable recommendations.
Film Types: Hot Peel vs. Cold Peel
Hot peel films allow you to remove the carrier sheet immediately after pressing, speeding up production. Cold peel films require cooling, but they often provide a smoother finish. Both work well, so experiment to see which fits your workflow. I keep both on hand depending on the design and fabric.
DTF Transfers vs. Other Printing Methods
How does DTF stack up against DTG, screen printing, and vinyl? Here's a quick comparison based on my experience.
- DTG: Great for cotton, but requires pretreatment and can be less vibrant on dark shirts. DTF wins for versatility and color vibrancy.
- Screen printing: Best for large orders and bold designs, but setup costs are high. DTF is more economical for small runs and full-color images.
- Vinyl: Ideal for simple text and shapes, but weeding is time-consuming. DTF handles complex designs with ease.
Ultimately, DTF transfers offer a balance of quality, cost, and efficiency that's hard to beat for custom apparel.
Frequently Asked Questions About DTF Transfers
How long do DTF transfers last on shirts?
With proper application and care, DTF transfers can last as long as the garment itself. I've seen prints maintain their vibrancy after 50+ washes when washed inside out in cold water and tumble dried low. Avoid ironing directly on the print and don't use bleach or fabric softener.
Can I use DTF transfers on polyester?
Yes, DTF transfers work well on polyester, including 100% polyester and blends. However, polyester is heat-sensitive, so lower the temperature to around 300°F (150°C) and use light pressure to prevent scorching. Always test on a scrap piece first.
Do I need a special printer for DTF transfers?
You need a DTF printer that uses DTF inks and can print white ink. Converted Epson printers are popular for this purpose. Alternatively, you can buy pre-printed transfers from suppliers, which eliminates the need for a printer and powder shaker.
What's the difference between DTF and DTG?
DTF involves printing on a film and transferring to the garment, while DTG prints directly onto the fabric. DTF requires no pretreatment and works on more fabrics, but DTG can be more cost-effective for 100% cotton shirts in large quantities. DTF generally offers more vibrant colors on dark fabrics.
How do I store DTF transfers?
Store unused DTF transfers in a cool, dry place away from direct sunlight. Keep them flat or rolled, not folded, to prevent creases. Properly stored transfers can last for several months. I keep mine in a sealed bag with a desiccant packet to avoid moisture.
DTF transfers have revolutionized the custom apparel industry, and with a bit of practice, you can achieve professional results at home. Remember to test, adjust, and have fun with your creations. If you have more questions, feel free to explore our other resources at dtfpressexpert.com.